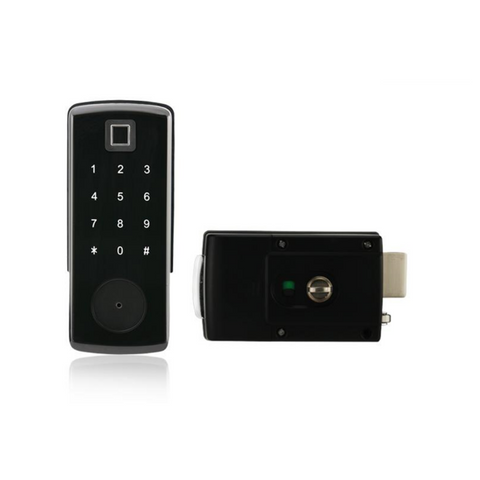
The TTLock Smart Reed Switch (CLMLSR1) is a convenient and reliable solution for managing your home or business security.
It allows you to control the locking and unlocking of your doors remotely using the TTLock app on your smartphone and the gateway device. This product enables you to check the status of your door, whether it is OPEN or CLOSED. This is an additional product that provides peace of mind, particularly for the SecEsafe Smart Deadbolt range.
This blog post will step you through the process to setting up your TTLock Smart Reed Switch
Setting Up Your Smart Reed Switch
A Note Before Getting Started:
Before getting started on setting up your exciting new product, it is important to be aware of a few things:
- The CLMLSR1 is only compatible with the latest range of TTLock Smart Locks.
- A G2 or G3 SecEsafe Gateway must be set up with the smart lock for the CLMLSR1 Reed Switch to successfully connect and be operational.
- Only one reed switch can be connected with an individual lock.
Step One:
Open "TTLock" and select the lock you wish to add the reed switch to.
*Please note that each individual reed switch can only be assigned to one smart lock.
Step Two:
Select "Settings" on the lock homepage.
Step Three:
Then turn off "Auto Lock" in the lock settings.
Select "Auto Lock" at make sure "Auto Lock" is in OFF position.
Step Four:
Select the "Door Sensor" in the lock settings.
Step Five:
Select "Add door sensor"
Step Six:
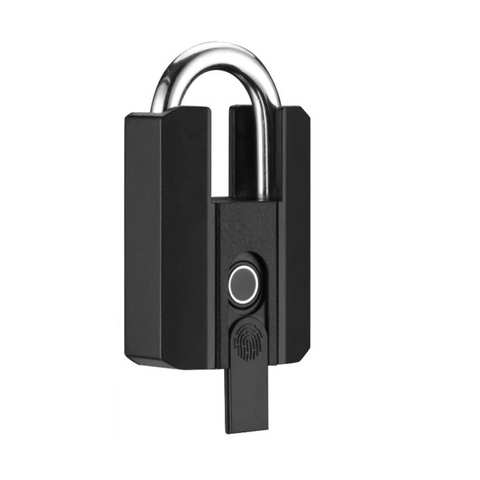
Ensure you have placed a CR2032 battery in the reed switch.
Hold down the small button on the front of the reed switch until it starts to flash blue fast and select "Next".
Note: Button located on the curve at the bottom of the switch.
Step Seven:
If sucessfully in pairing mode, the reed switch will appear on the screen.
Select the '+' to add to the lock.
Step Eight:
The reed switch will now be successfully connected to your smart lock.
Please continue reading to learn about operating your smart reed switch.
Managing your smart reed switch
You can view the details of your door sensor under "door sensor" in the smart lock settings.
Here you can view:
- Lock name & number
- Battery status
- Updates available
- Door not locked alert
This enables you to remotely manage your door sensor. You can check the battery status and whether any updates are pending remotely.
Door status alert
The "Door-not-locked alert" enables your smart lock to send an alert if the lock has not been after the duration you have set. The alarm can be set to go off after 10 to 60 seconds.
Please note that you can also turn off this function in the same tab by turning the switch to OFF (Grey).
Door Status
Typically, without the reed switch you can check the door status to determine whether the door is locked or unlocked using the gateway. The reed switch enables you to check the above as well as the whether the door is in open or closed status.
This means that you can have peace of mind once you have left the house or rented out your Airbnb knowing your property is secure.
Reed Switch Magnet
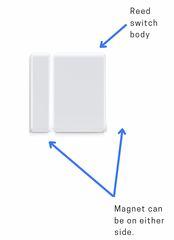
With the SSMLSR1 you can install the smaller part of the reed switch on either the left or right side.
This makes for convenient installation with the adhesive provided regardless of the door direction.
Tips and Tricks
The reed switch is better suited to TTLock deadbolts rather than TTLock latches.
Due to the nature of the reed switch informing you when the door is opened/closed and its ability to trigger the bolt to lock when the reed switch has contact this provides peace of mind and security.
You can have peace of mind knowing that should you forget to lock the door; you can check your app to see if the door is OPEN or CLOSED - this provides a greater sense of security than the "Auto Lock" feature that comes with the deadbolt.
Please Note:
- Each lock can have up to one sensor connected at any given time.
- The smart lock must be connected to a G2 or G3 gateway for reed switches to operate.
- Required battery, CR2032 is not included in purchase.
To our PDF detailing our instructions for setting up the CLMLSR1 click the image below.